Here's what we've got so far:
The main firebox is all ready for it's arch. The arch will be started with regular high duty firebrick and then finished with handmade tatami brick, which are a hollow conical shaped brick. Julie and I mixed the clay to make them first thing after I got here, and we are now waiting for the clay to dry to start making the brick. We are planning on finishing the main firebox last. After everything else is finished we will fire the tatami bricks in the second chamber before stacking them up to make the main firebox.
 Here's the first chamber. All ready for it's arch.
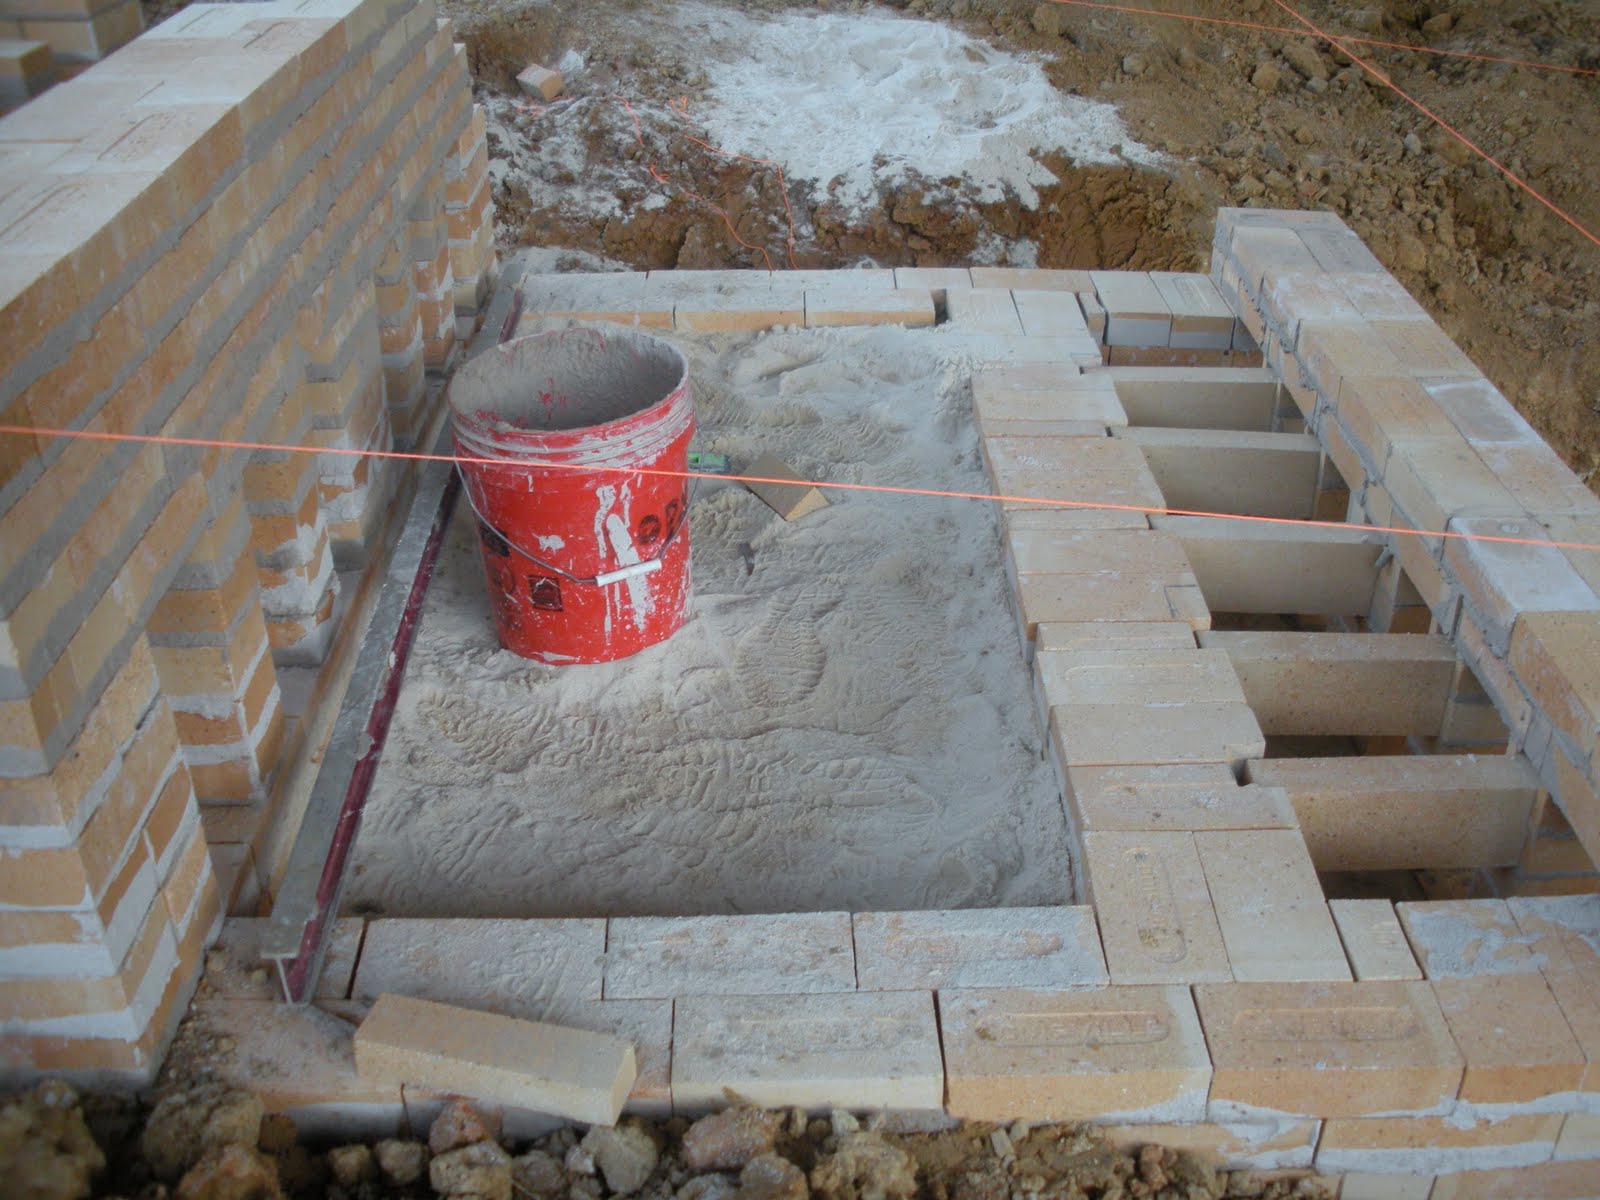 This is what we'll refer to as the "secondary firebox" which will most likely only be used when firing the second chamber on it's own. It's almost done with just a couple of bricks to notch around the grates before the flues are finished. I've never used a secondary firebox before, and it's ended up being a complex little guy. You can see below the main air inlet, right above which is the preheat stoking area. In the bottom left is an air inlet which leads most of the way toward the center of the kiln. The plan is to seal off the flues from the first chamber if the second chamber is ever to be fired on it's own. It seemed more pleasant to be able to control the air inlet with out having to run in and out of the first chamber. There is also I understand a slight chance of carbon monoxide poisoning if one spends too much time in a chamber while an adjacent chamber is being fired.
The most complex part of the secondary firebox was making sure the grates were replaceable in case one broke sometime down the road. A lot of cutting/notching was required to make it possible to remove the grates at a later date.
 Here's what it looks like with the brick removed... for full effect.
 Not to wish ill upon my good friend Julie, but after all the work we put into making sure the grates were removable I'm going to be a little disappointed if the grates never break.
Here's where Julie spend the good portion of her day:
 Notching, and cutting..... notching, and cutting..... notching, and cutting
 Well there you have it. We'll update you again as things progress.
Joe


7 comments:
This is fascinating, Joe. Thanks for sharing! And nice to see you, Julie, even if only a side view in a picture.
looks beautiful! i love the front island.
**c
Looks great Julie! Was braggin' up your pottery to a customer in Durham Thursady AM.
Wow. Looking great!!
wow cranking along nicely...
Can't wait to come and see it (and you two) in person!
Great post! I'm such a sucker for kiln Porno and this was fantastic!
Thanks!
Post a Comment